- Print
- DarkLight
This article should give you a detailed introduction into the Workflow system. It will cover basic steps like the creation of a workflow and guide you from the editing till the final execution of a workflow.
Create a new workflow
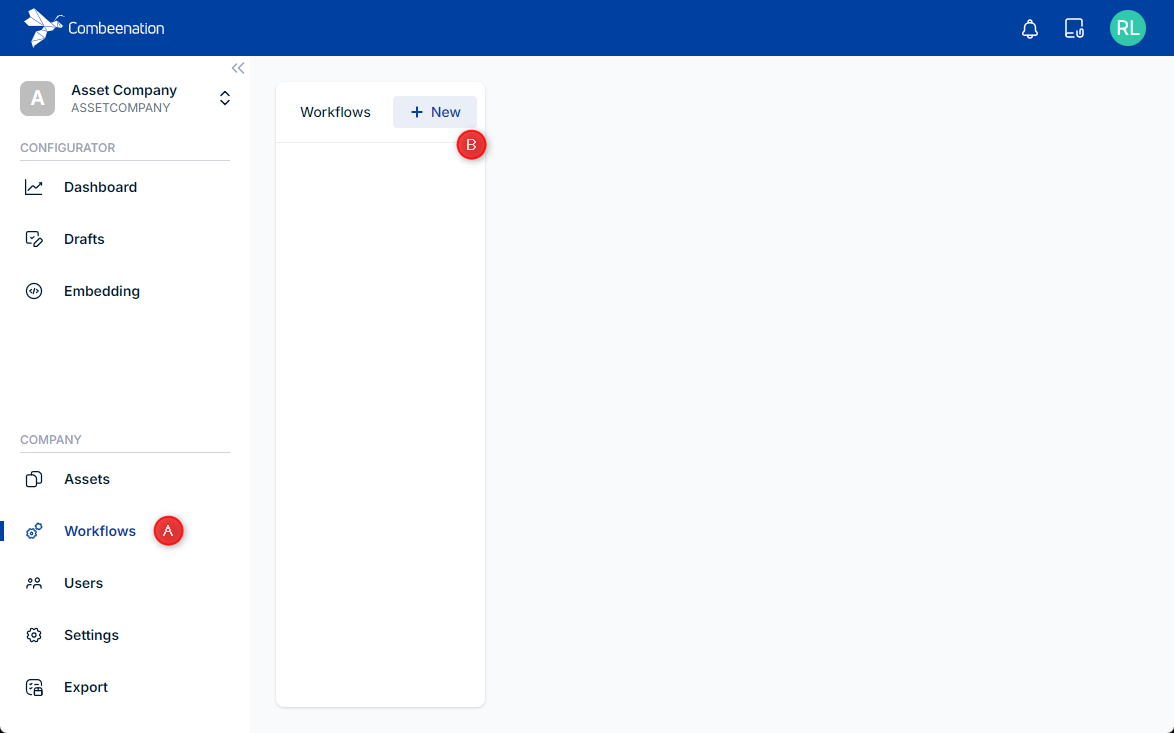
(A) Workflows can be created and managed per company.
(B) To create an empty workflow, simply click on the (+) icon in the right upper corner.
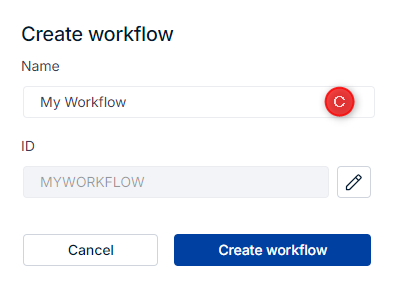
(C) Select a Name and an ID is automatically created. The ID must be unique and is limited in which characters you may use, it is used for calling it via the push API. The Name has no such restriction, use a good name to identify your workflows later on.
Run and Editor view
After creating a workflow, no runs are visible yet. To start, click Edit code and write your workflow’s JavaScript logic. The integrated editor provides auto-completion and helps you build a ready-to-use workflow. Every workflow must export a function run() and return a Promise{:target="_blank"}. This is a minimal and working Hello World example. For more examples, see templates.
// when you define parameters in the workflow config, you can import them here to use them:
// import { YOUR_PARAMETER } from '@workflow/parameters';

// when a workflow starts, it calls the run() function. every workflow must export one.
export function run() {
    // !!! visit our docs for a number of example workflows to get started !!!
    // https://docs.combeenation.com/docs/workflow-templates

    // run() must return a promise – in most cases, you'll call at least one API function, which will return a promise that you can return here
    return Promise.resolve('Hello, world!');
}
After completing your workflow, click Execute to run and test it. Finished runs appear in the run overview, where you can select a run to view details (see the next section).
Log
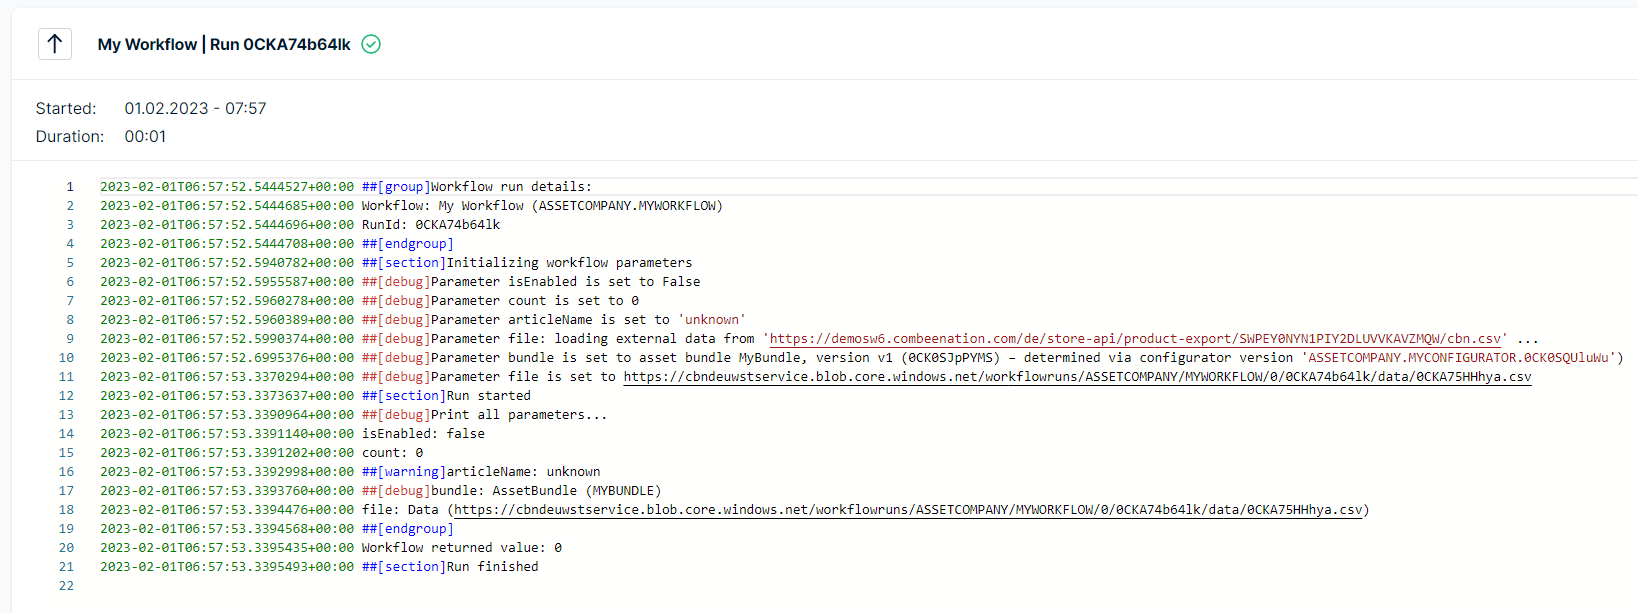
As mentioned earlier, each workflow run generates a log. This log helps you understand what happens during workflow execution. Some entries are automatically created by Combeenation, but the Platform user can also add custom log messages using the following JavaScript functions:
console.debug()console.info()console.log()console.warn()console.error()console.group()console.endGroup()
A log output always contains a UTC time stamp and a corresponding message. An example log output can be seen here:
Configuration
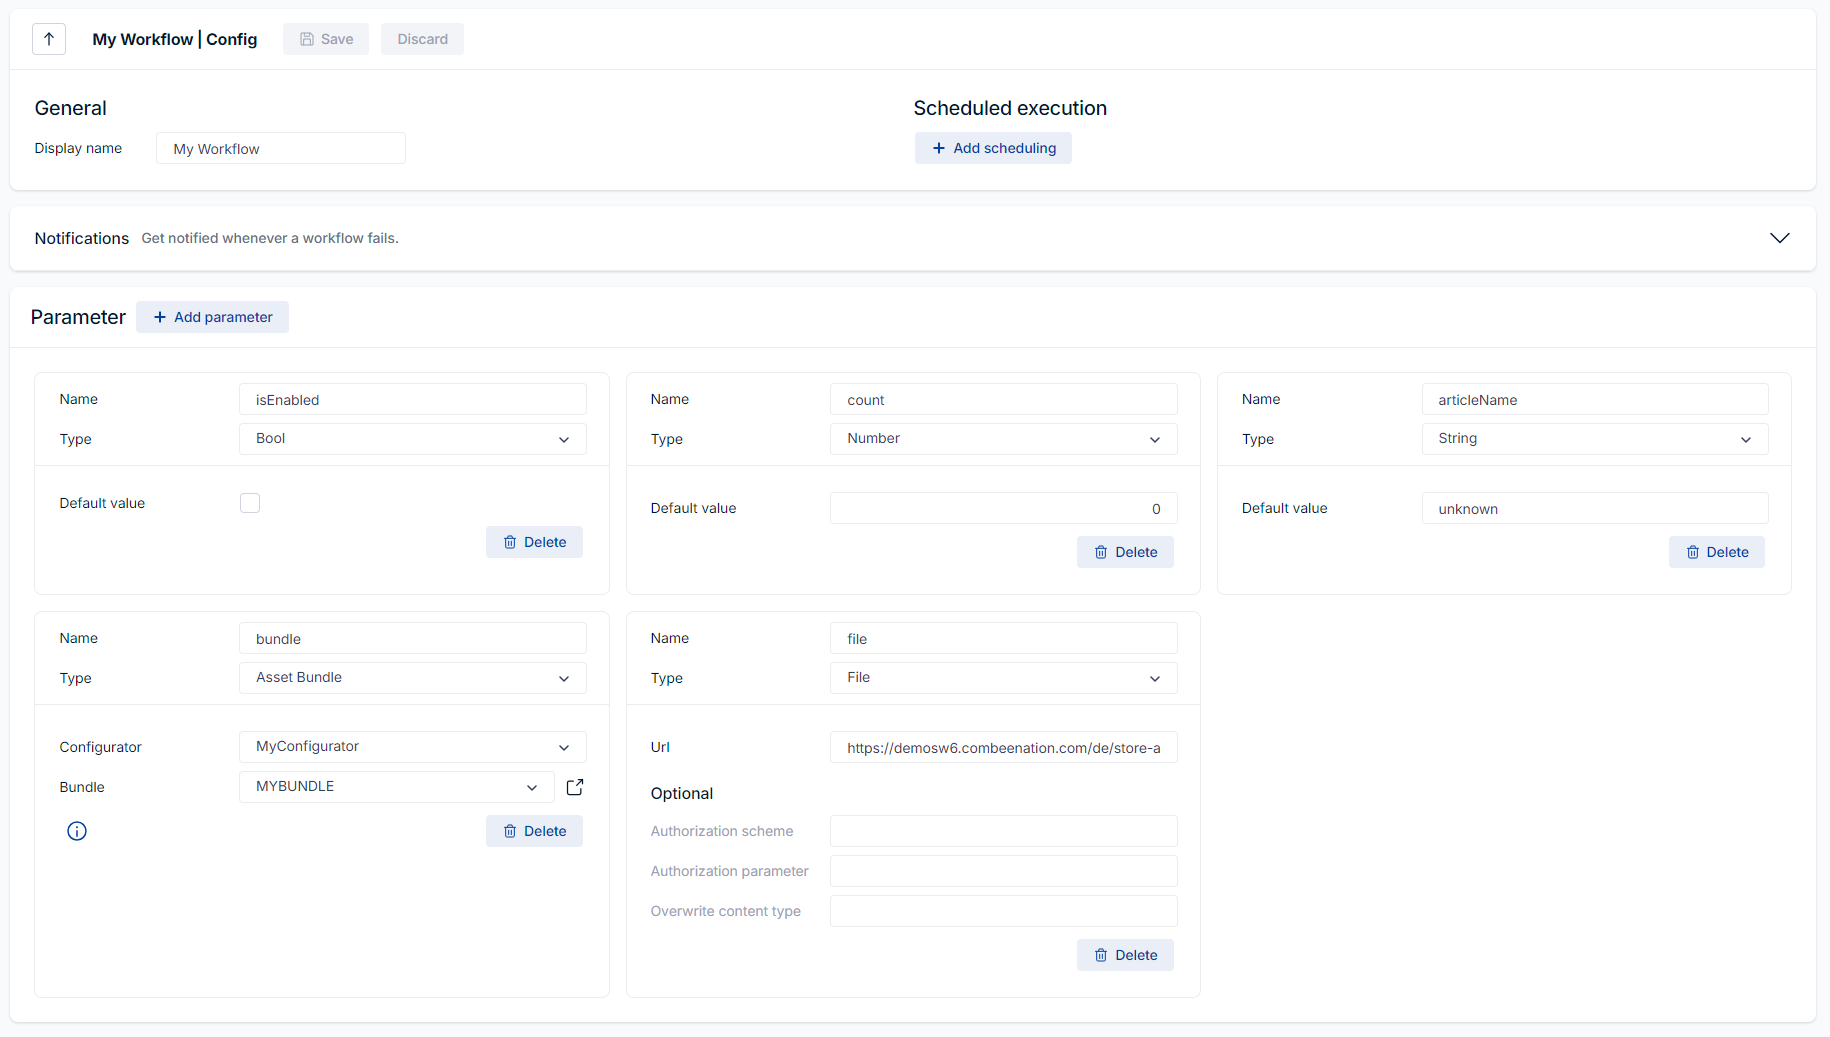
To configure a workflow simply click on Edit config where it is possible to configure its display name, an optional scheduled execution and all required parameters.
Scheduled execution
Workflows can be executed manually within the Combeenation platform or scheduled to run at recurring intervals. To enable scheduling, click Add scheduling and set the desired interval. Once saved, the next execution is scheduled immediately and will run at the defined time.
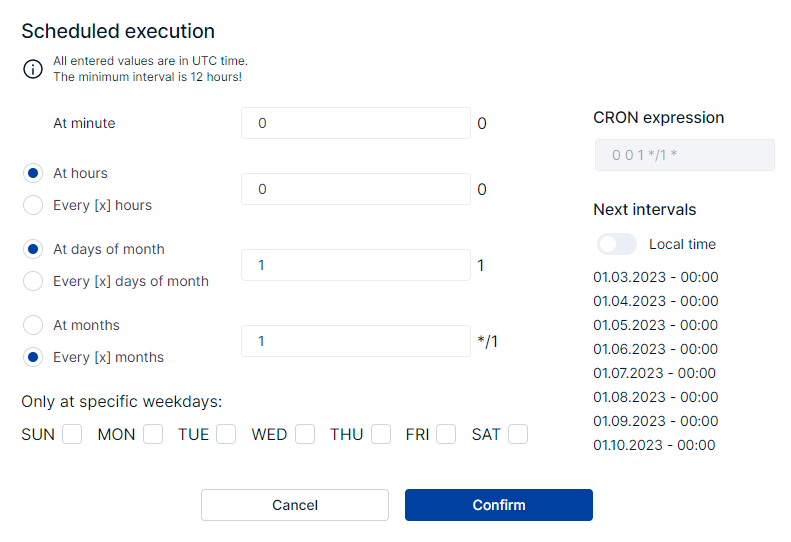
The minimal allowed timespan between each workflow runs is 1 hour.
All entered values are in UTC time.
Triggers
You can also execute workflows based on triggers. Currently, two trigger types are supported:
- Configuration finished trigger – Executes when a configuration is finished.
- Quote state change trigger – Executes when a quote changes to a specified state. Multiple triggers can be defined per quote hub (e.g., perform one action when a quote is won and another when it is lost).
Depending on the trigger type, the run function receives a workflow argument containing trigger-specific data (e.g., the configuration finished trigger provides the configuration, while the quote state change trigger provides quote data). See this example to learn how to access this data.
Notifications
With the help of notifications, it's possible to get notified whenever a workflow fails.
At the time of writing, we support two different formats, Emails and Webhooks described below.
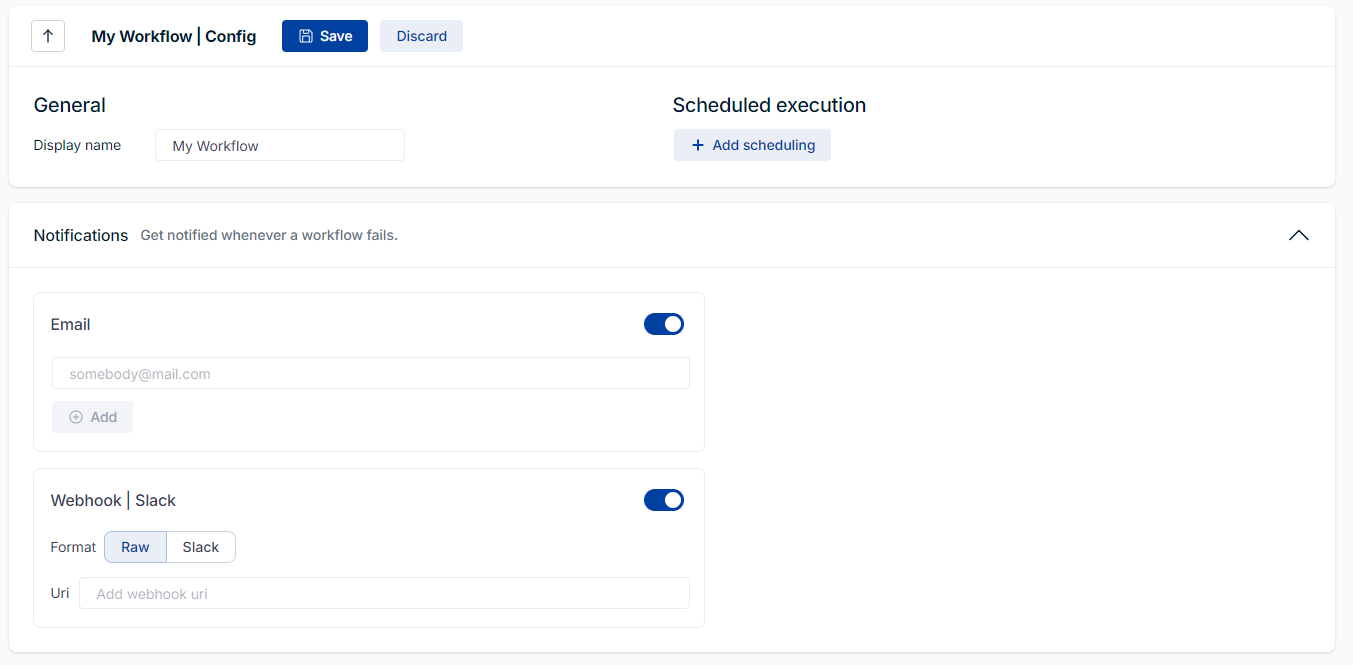
Simply add your Email address and get notified.
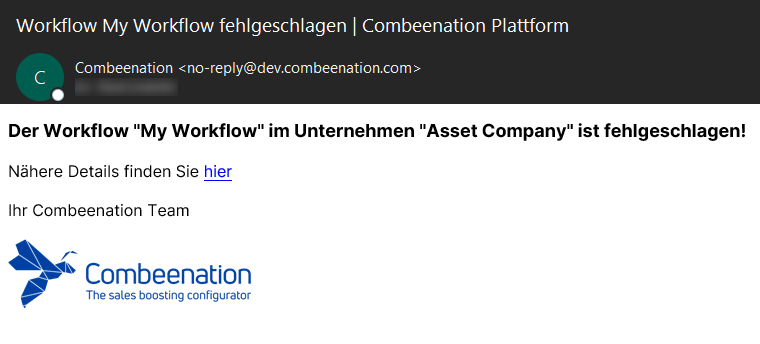
Webhook
A Webhook is typically used to connect two different applications and enables sending events over the web through an API.
This type of notification is based on HTTP and sends POST calls to your URI.
a) Raw
If you select "Raw", we send the following plain JSON to the given URI.
As you can see, we provide the CompanyName , the WorkflowName and the WorkflowRunLink of the failed workflow.
{
    "CompanyName": "Asset Company",
    "WorkflowName": "My Workflow",
    "WorkflowRunLink": "https://portal.combeenation.com/..."
}
b) Slack
In addition, we support the official standard to send notifications to a given Slack channel.
As mentioned here, Slack webhooks are a way to post messages from apps directly into Slack. Simply add your Slack webhook URI into the given field, and we will send a Slack message into your channel.

Parameters
You can use a maximum number of 20 parameters to pass information into your workflow. Each parameter must have its own unique name and must contain a valid default value.
All different types of parameters can be added with the Add parameter button and can be imported into the workflow code as shown below.
import { isEnabled, count, articleName, bundle, file } from '@workflow/parameters'
As a result, the defined parameters are automatically loaded into the workflow run.
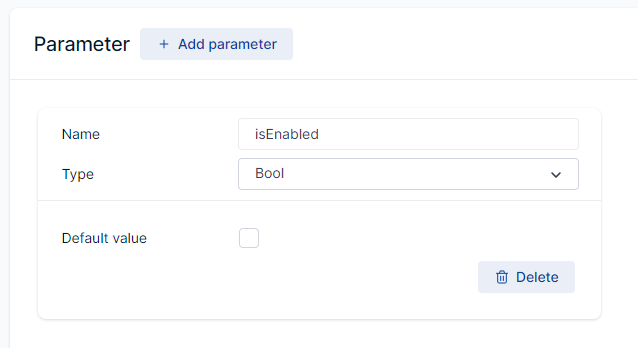
a) Bool
Name... unique name of the parameterDefault value... default value of the parameter
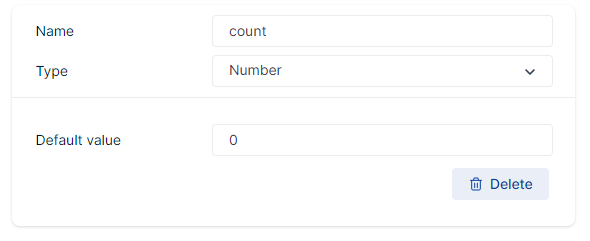
b) Number
Name... unique name of the parameterDefault value... default value of the parameter
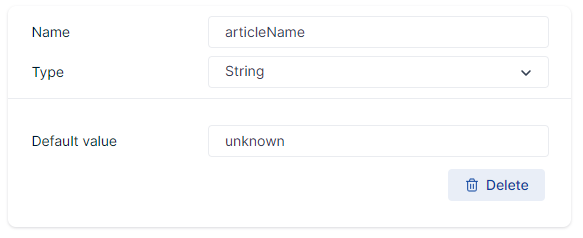
c) String
Name... unique name of the parameterDefault value... default value of the parameter
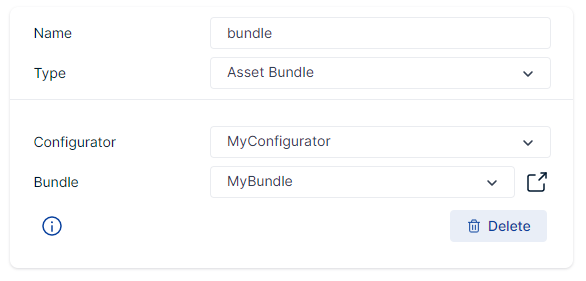
d) Asset Bundle
You can use this parameter to make changes to an asset bundle, publish it and also publish configurators that use it. Choose an asset bundle that is assigned to a specific configurator.
The workflow will always use the asset bundle version which is used by the configurator.
Updating asset bundles via workflows is only supported for published configurators.
Name... unique name of the parameterConfigurator... select the configurator which should be usedBundle... select the asset bundle fromConfigurator
e) File
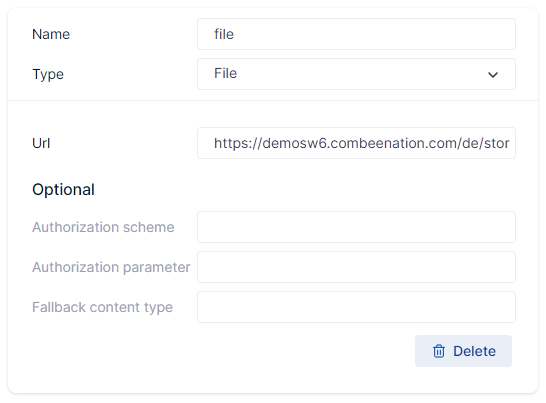
Name... unique name of the parameterUrl... public URL where the file (i.e. data) is downloadedAuthorization scheme... (optional) authorization scheme{:target="_blank"}Authorization parameter... (optional) authorization parameterFallback content type... (optional) fallback content type
Some URLs are not available publicly, they can only be accessed if certain authorization credentials are provided.
The Authorization scheme and Authorization parameter settings map directly to the corresponding HTTP headers.
The Basic authentication scheme is frequently used by APIs that utilize API tokens or user/password credentials.
To set it up, enter Basic in the Authorization scheme textbox.
The value for Authorization parameter must be a Base64-encoded string of the form user:password (sometimes an API key is used instead of user information – consult your API's documentation for details).
HTTP
With the http keyword it is possible to perform various HTTP requests.
You can perform get, post, put, patch, head, options and delete requests.
Request config
You can configure your requests with the following optional request configuration.
const requestConfig = {
  // (optional) `baseURL` will be prepended to `url`
  // It can be convenient to set `baseUrl` to pass relative URLs in http methods
  baseUrl: 'https://some-domain.com/api',

  // `headers` are custom headers to be sent
  headers: {'X-Requested-With': 'XMLHttpRequest'},

  // `auth` indicates that HTTP basic auth should be used, and supplies credentials.
  // This will set an `Authorization` header, overwriting any existing
  // `Authorization` custom headers you have set using `headers`.
  // Please note that only HTTP basic auth is configurable through this parameter.
  // For Bearer tokens and such, use `Authorization` custom headers instead.
  basicAuth: {
    username: 'janedoe',
    password: 's00pers3cret'
  }
}
Response
Every request returns the following generic response and gives you insights about the success of your request.
{
  // `data` is the response that was provided by the server
  // can be undefined in the error object
  data: {},

  // `status` is the HTTP status code from the server response.
  status: 200,

  // `headers` the HTTP headers that the server responded with.
  // All header names are lower cased and can be accessed using the bracket notation.
  // Example: `response.headers['content-type']`
  headers: {}
}
With the following code, you can print all values of a response:
function printResponse(response) {
  console.log("Status-Code: " + response.status);

  console.group("Start printing headers...");
  for (const key in response.headers) {
    console.log(`${key}: ${response.headers[key][0]}`);
  }
  console.groupEnd("Printing headers finished.");

  if (response.data !== undefined) {
    // `url` returns the URL of the retrieved data
    console.log("Data URL: " + response.data.url);
    // `raw` string is only defined, if data is smaller than 1MB
    console.log("Data Raw: " + response.data.raw);
  }
}
Errors
If any error occured, a specialized error can be caught and processed in the returned promise. The error object has the following format:
{
  // can be undefined if no response was received, e.g. timeout
  response : {},

  // URL of the request
  url: "",

  // error message which describes the error
  message : ""
}
With the following code, you can print all values of an error object:
function printError(error) {
  console.error("Error occured: " + error);
  console.debug("Url: " + error.url);
  console.debug("Message: " + error.message);
  console.group("Start printing error response");
  printResponse(error.response);
  console.groupEnd();
}
Examples
All subsequent examples use the previously documented optional requestConfig and the printResponse and printError methods.
get
export function run() {
  return http.get(url, requestConfig).then((response) => {
      printResponse(response);
    })
    .catch((error) => {
      printError(error);
    });
}
post, put and patch
The following template can be used with post, put or patch requests mentioned requests.
The content of requests must be provided as string.
export function run() {
  const content = {
    text: "HTTP request content of a workflow",
  };

  return http.post(url, JSON.stringify(content))
    .then(response => {
      printResponse(response);
    })
    .catch(error => {
      printError(error);
    });
}
head, options and delete
The following template can be used with the head, options and delete requests.
export function run() {
  return http.head(url, requestConfig)
    .then(response => {
      printResponse(response);
    })
    .catch(error => {
      printError(error);
    });
}


